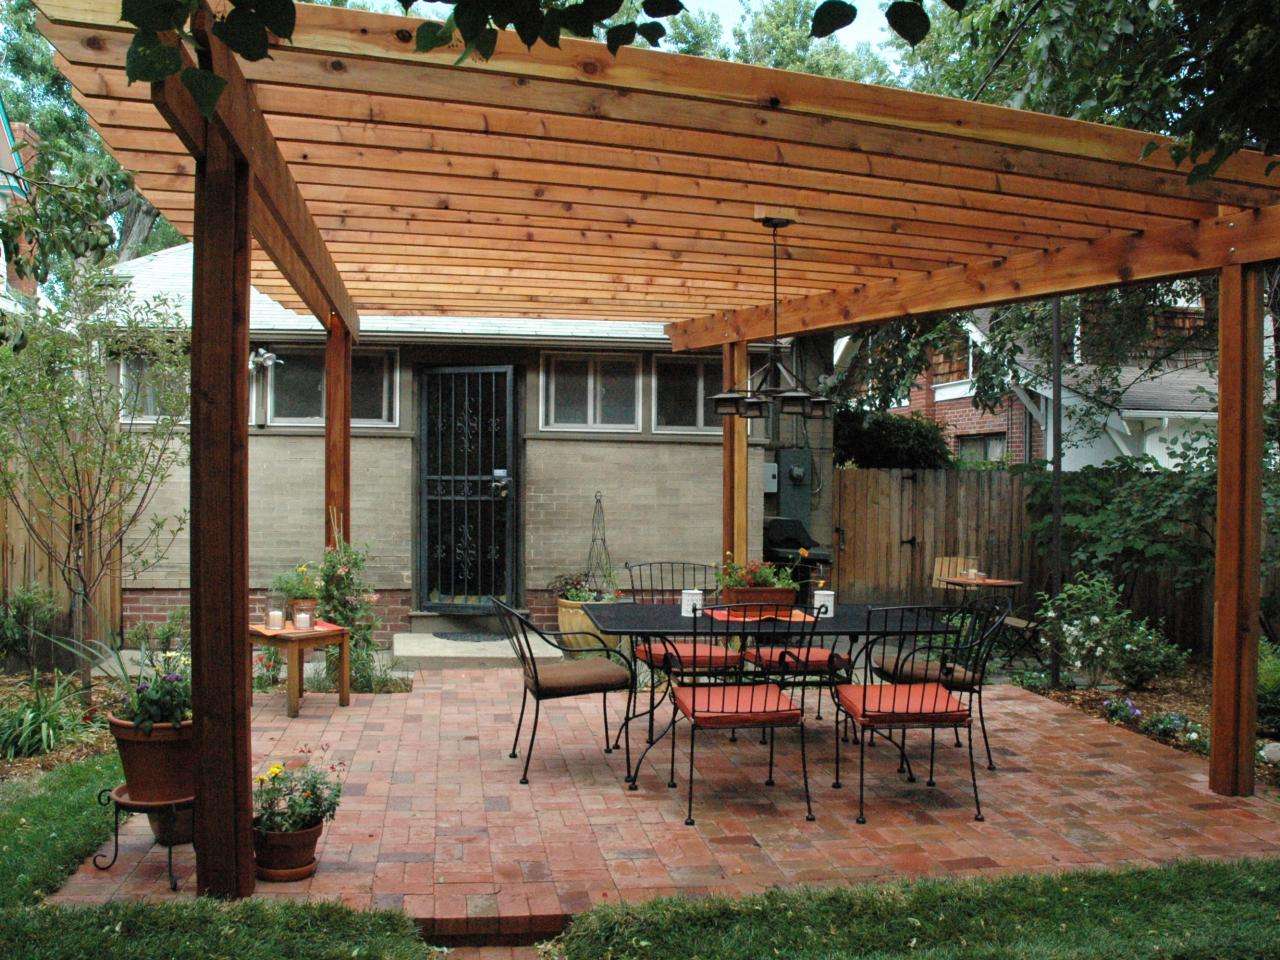
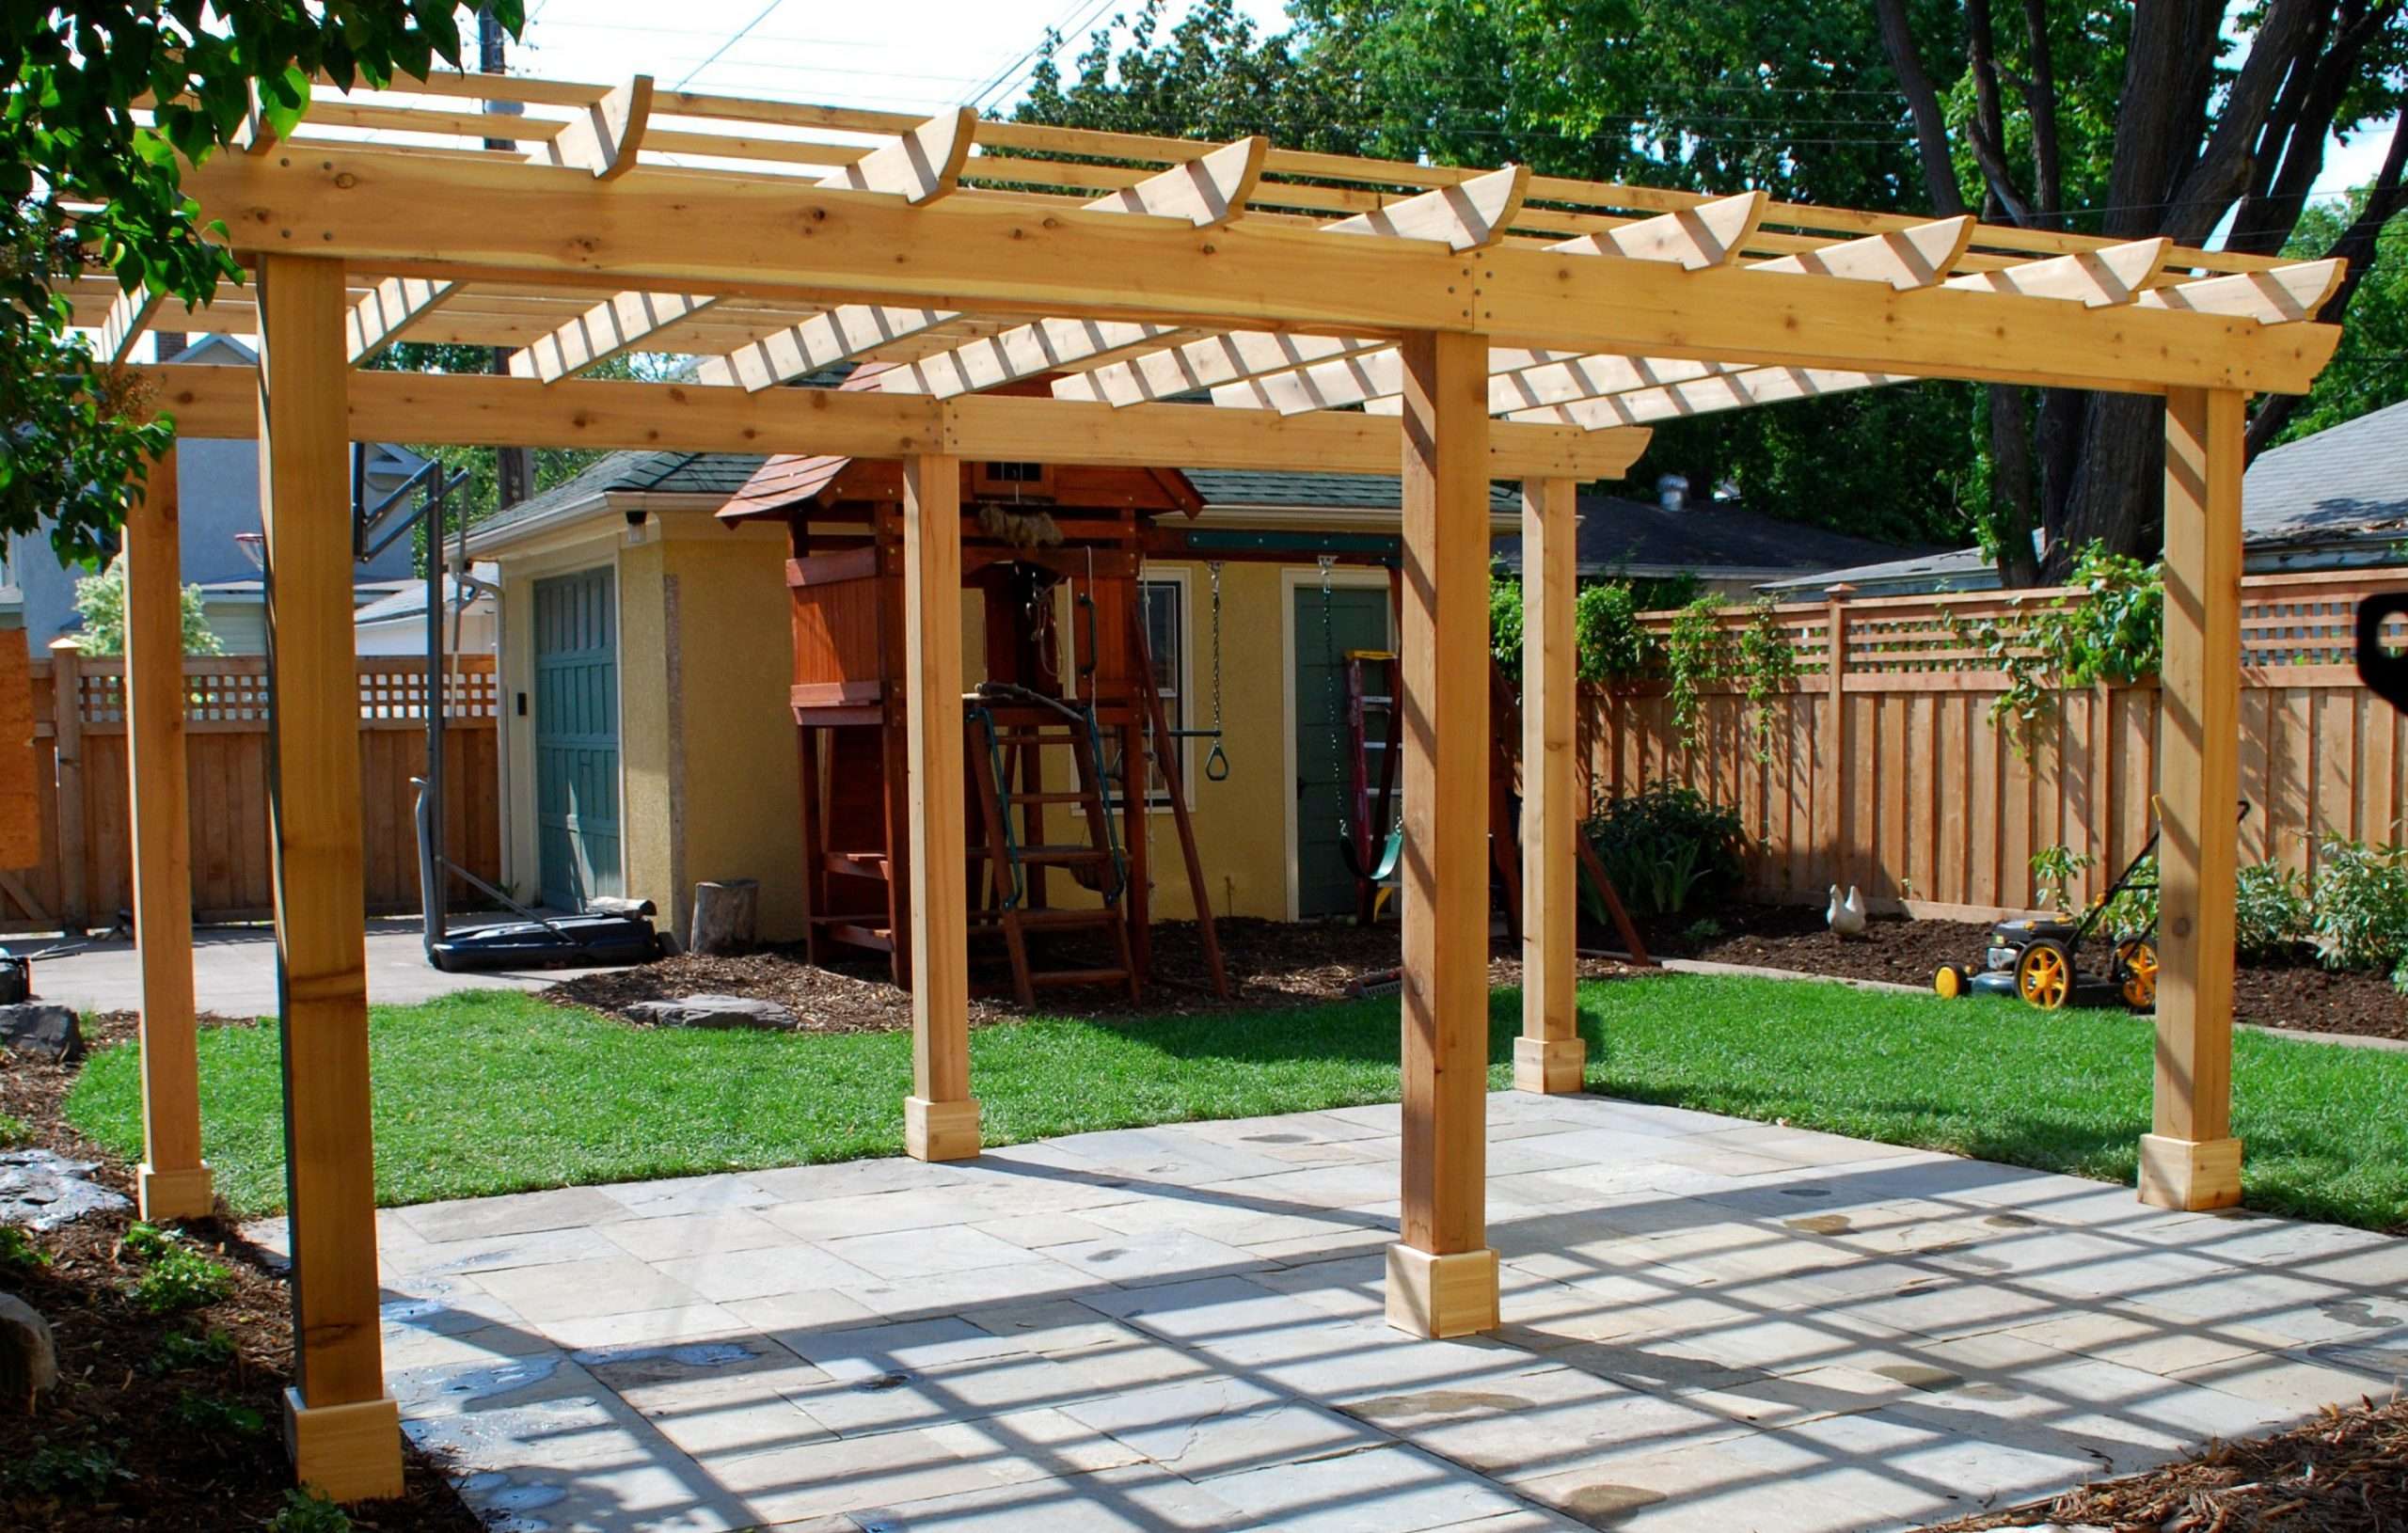
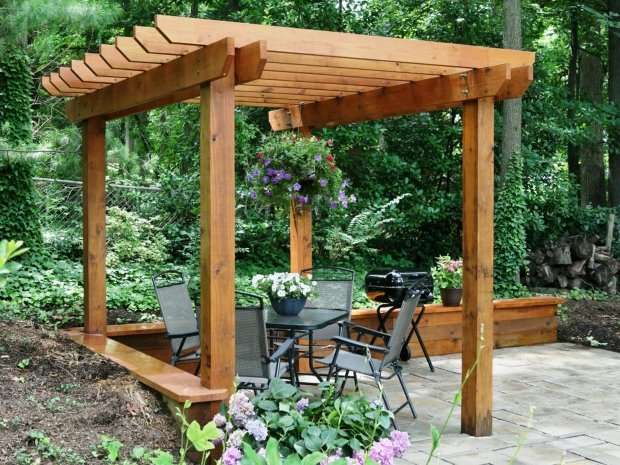
Make The Lattice Strips
Now cut the 3 in. wide tail tops from 5/4 decking to make parts J. Round over the cut ends with a hand plane or a router. Rout a 1/4-in. round-over on each edge to make the lattice strips. Ease the edges of the tails and the tops with 100-grit sandpaper and then apply a solid-color stain. Make sure the treated wood pieces are dry to the touch before you pre-stain them. If they feel cool, let them dry in a shady spot for two days before applying the solid-color stain. Rushing the process could cause the stain to blister or roll off.
The Additional Pergola Plans Series
There are additional pergola plans that you can use, too, as well as the free pergola plans, all with free rafter tail templates. These plans were created as bespoke structures for people who asked for specific plans to create a pergola they really wanted in their garden.
Most can be made by adapting the principles used in the free pergola plans. Some of us, however, need a little more help with building these more unusual designs.
Each contain detailed building instructions for that particular style – simple diagrams and pictures – making DIY construction a breeze… and they all come with 18 free rafter tail templates.
Take a look at the stunning corner design, with it’s wonderful radiating rafters.
The attached lean-to pergola can be used on a patio wall, as a porch, carport or, more usually, a fantastic extension to the house.
People love the hexagonal plans. There are alternative ones that include a pitched roof, too. So many interesting possibilities!
What about the asian style structure with its beautiful curved rafters?
Make all sorts of different pergolas, arches or a heavenly arbour, using the arbour pergola plans.
And last but not least – fancy an arbour with an integral seat built in? There’s the beautifully romantic seated arbour with either straight or curved rafters.
“What a refreshing email to find you so helpful and forthcoming with assistance. There should be more people like you in the world.”
Debbie. Isle of Man, United Kingdom.
The Western Red Cedar Bench Plan
This western red cedar option includes bench seating and is marketed as a defining enhancement for an outdoor living area. It has an L-shaped layout that is two level.
The downloadable PDF provides comprehensive instructions for assembling the main pergola, the seating area and the bench. A helpful video walk-through provides additional feedback for woodworkers looking to embark on this fun, DIY project.
Also Check: Does A Patio Table Umbrella Need A Base
The Classic Real Cedar Vineyard Build
This Vineyard Pergola has somewhat of a different design. It is an elongated, rectangular option, in contrast to the Square designs weve typically seen. You can download a PDF file and print out the instructions which include a comprehensive material list, recommended tools and clearly delineated instructions to help you assemble this unique-looking option.
Diy Pergola Arbor Seat

For lovers of solitary spaces, this pergola arbor seat is the stuff of dreams. Since it is a small design, it can be made using scrap wood.
For the latticed pattern of the seatback, you can use a readymade trellis or simply criss-cross thin strips of wood and then attach them to pole posts. Whereas, the bench can be made by attaching a few wooden boards horizontally.
Recommended Reading: How Many Pavers Do I Need For A 12×12 Patio
The Recycled Wood Build
This upcycled wood pergola was built from a demolished deck. The woodworker wanted to make it on the cheap. He was able to pick up all of the scrap lumber for free, but did have to spend a long time extracting all of the nails and screws from the lumber.
They decided to install this option on their outdoor deck where a preassembled gazebo had been situated for number of years. The roof eves beams have cut off ends that fill the gaps and hide the hangers and its strung up with Christmas lights that provide attractive evening ambiance for backyard barbecue cookouts.
Kitchen Island Pergola Plan
If you are a homeowner with a free-standingoutdoor kitchen then this pergola will surely capture your attention. This canbe built to shield an existing kitchen island which will surely jazz up youroutdoor dining and entertainment. This design includes a simple pergola withonly two upper beams.
The lattice sides of this structure are thefocal point of this design which creates a clean and charming country ambiance.The plans to make this kitchen island pergola are available below.
Don’t Miss: How To Hang Shades On Alumawood Patio
Laying Down Foundation Posts
The Plant Hanger Pergola
This pergola is not for beginners. However, if you are an experienced builder then you will be right at home with this one.
It is a gorgeous pergola that is meant to be attached to your deck. With the way it is designed you can actually hang plants from it. It is a beautiful design that would be a great addition to any piece of property.
Don’t Miss: What Is The Difference Between Patio Gas And Butane
Gorgeous Diy Louvered Pergola
Having a pergola doesnt mean that yours has to look like everyone elses. This beautiful DIY pergola has louvered sides and it is so unique. This one fits at the end of a deck but you could use the plan to create a free standing pergola if that is what you want. It is definitely not like all of the others, although it is just as easy to build as a traditional pergola.
Plans: flexfence
Getting Started On How To Build A Pergola
Heres a summer project designed to keep you cooler on even the hottest of days. The classical columns support an overhead wooden lattice that works like a big shade tree, letting only a portion of the suns radiance shine through.
What looks like the toughest part of this pergola plans project is actually the easiestthe graceful, solid-looking columns. Theyre not wood at all but a hollow-core composite material with amazing structural strength and durability. Weve designed the pergola plans so you simply slip these columns over treated 4×4 posts embedded in concrete. When screwed to the wooden posts, these columns provide a stable, solid base for the overhead lattice framework.
These paintable precast columns are available by special order at home centers. They come in a wide variety of diameters and heights and architectural styles.
Pressure-treated dimensional 2x8s and 2x10s make up the majority of the upper framework, and the decorative end pieces are cut with a jigsaw from our pergola plans. The whole project can be built in a couple of weekends, with another weekend for staining and painting.
We built our pergola over an existing stone patio that saved a lot of patio work. If youre planning to install a patio as part of your overall project, youll need to allow extra time.
Recommended Reading: What To Do With Patio Furniture In A Hurricane
Materials Required To Build The Wooden Pergola
For the concrete:
- 3 bags cement
- 6 wheelbarrows sand
- 6 wheelbarrows crushed stone or gravel
Upright posts:
- 24 x 144 mm x 69 mm x 2,4 m glued in pairs to make them thicker
- 4 x 144 mm x 69 mm x 770 mm
Note that if you are going to concrete the posts into the ground, they will need to be at least 500 mm longer, and you will need extra concrete for the footings.
Rails:
- 4 x 69 mm x 44 mm x 550 mm
- 28 x 69 mm x 44 mm x 500 mm
Planed timber crosspieces:
- 16 x 44 mm x 32 mm x 1,2 m
- 24 x 44 mm x 32 mm x 760 mm
Beams:
- 2 x 220 mm x 44 mm x 5 m
- 9 x 220 mm x 44 mm x 3,5 m
Post anchor supports:
- 12 x heavy-duty post anchor shoes
- 4 x lightweight post anchor shoes
Fasteners:
- 24 x 150 mm x 10 mm hexagonal bolts with washers
- 60 x 100 mm x 8 mm coach screws
- 50 mm oval wire nails
Exterior wood glue
The Diy Freestanding Garden Blueprint

This freestanding garden pergola has a 10 x 10 feet base, but the plans allow you to modify it to any size your want. For an 8 x 8 wooden pergola, the beams and crossbeams will be 10 feet, while for a larger the beams will measure 14 feet. There is a handy pergola building guide and detailed schematics so that it wont be difficult even for an amateur to build this garden structure.
Read Also: Northborough 5-piece Metal Frame Patio Conversation Set With Sunbrella Cushions
Super Easy Diy Patio Pergola
If you have a patio and you want to add a little something to it to dress it up, this DIY pergola is perfect. This one is really easy to build and you build it out from your house, so there is less lumber required than a pergola that is free standing. This is a wonderful way to add some beauty to your patio and you could hang curtains from it to help block out the sun on really hot days.
Plans: ronhazelton
The Grand Arbor Pergola Design
This magnificent freestanding pergola with a canopy is ideal for large lawns or backyards. It serves two functions a shade for you and a place for your climbing plants to thrive. What distinguishes it from other pergolas out there is the retractable canopy that you can fold up easily when you dont need it.
To built this beautiful cedar pergola, you need a circular saw if you are using 1-1/2 thick lumber or 12miter saw for thicker wood.
Don’t Miss: Flagstone Path In Grass
How To Build A Pergola Frame
View in gallery
Once your pergola posts are installed , its time to build your elevated pergola frame. This includes a solid perimeter of doubled-up 2x6s, although each 2×6 board is placed individually so the support is multi-directional. The outer frame boards are attached to the wall-mounted frame and/or the pergola posts , while the inner frame boards are attached to the outer frame as well as the inside corners of everything .
View in gallery
Easy Diy Free Standing Hurricane Resistant Pergola
If you live in an area where hurricanes occur, you definitely want to take a look at this DIY free standing pergola. It is resistant to hurricane winds! Even those of us that dont live where hurricanes happen could use this one. Its really sturdy and so easy to build. You can use whatever type of wood that you like, although it will need to be pressure treated to withstand the weather.
Plans: ronhazelton
Read Also: Building Outdoor Storage Box
Easy 12 By 24 Foot Pergola
If you really want something grand for the backyard, this 12 by 24 foot pergola is it. This is one of the easiest ones to DIY and it is absolutely gorgeous when it is finished. Its a great way to use up some of those 2X4s that you may have left over from other projects, too. There are so many great DIY projects you can make from 2X4s and this is just one of them.
Plans: myoutdoorplans
Diy Tiered Pergola Plans
A tiered pergola would simply mean one with multiple rows. This special one has three tiers giving you and your family enough space to explore and decorate. The tutorial will show you the basic structure of the pergola. If you do not understand the video, you can seek professional help from a woodworking expert.
You May Like: How To Build A Deck Over Concrete Patio
Cute Mini Diy Garage Pergola
If you dont necessarily want a regular sized pergola in the yard but you do love the look of these structures, consider this DIY mini pergola that fits right over your garage door. This is a great way to improve your curb appeal and it will instantly increase the value of your home. Its a really simple one to build you can have it finished in just one day and it adds such beauty to the outside of your home.
Plans: thisoldhouse
A Pergola Attached To The House

An attached pergola looks like an extension of the home itself, similar to how a front or back patio functions. At least one of the sides of the pergola is attached to or shares the same wall, flooring, and/or beams as the home itself.
The pergola provides privacy even outdoors while still allowing ample sunlight and breeze to come through its open sides. You can decorate it with a lounge, a table, and some plants to create a relaxed space to entertain guests.
Also Check: How To Remove Paint Stains From Patio Pavers
How To Build A Wooden Pergola For Your Garden
The first step is to set out the structure accurately to ensure that all the upright posts are correctly positioned. This is vital, since if you are even a few inches out, the beams are not going to fit. If they are spaced too widely, you will have a real problem!
You can throw a concrete slab at each corner of the structure and, once it has set and hardened, you can bolt post anchor brackets to the concrete, and then bolt these to the posts. Alternatively you can use anchor brackets that are designed to be concreted into the ground. Either way, you will need to mix the cement, sand and stone together with sufficient water to make a nice pliable mix that is easy to handle. Make sure it is not too runny, or you will lose strength.
Use the router to cut a 69 mm groove vertically in each of the 24 upright posts, where the two pieces will be joined. This will not only look attractive, but it will also create the visual impression that the rails have been inserted right through the posts, making the structure look even more solid than it is.
Note that if a variance of the 144 mm x 69 mm timber specified is used for the upright posts, the groove should match the smaller dimension of the wood.
It is a good idea to glue the joints before skew nailing the ends to the posts.
Also pre-drill the wood for the nails and coach screws to prevent it from splitting.
Once the diagonals are in position, skew-nail the railings in place.
The Plant Deck Hangers Build
The Lowes deck pergola with plant hangers is a heavily customizable option that has a modern appeal with its exposed bolts and cables. Its identified as an advanced skill level plan that takes one weekend to build and will cost under $500 in total.
Youll need to have a couple of tools handy including a circular or compound miter saw, drill and bit set, as well as some treated lumber. The image shows a pergola designed to fit a 12 x 14 deck but Lowes instructions help you to customize it to fit your property.
They advise woodworkers to contact a local utility company to ensure that when you dig the post footings that you dont intercept any buried lines and pipes.
Since youll be working with pressure-treated lumber, they also advise that you take some safety precautions including wearing a dust mask and goggles to avoid exposure to unhealthy chemicals. Indeed, this is a particularly professional and attractive looking option.
Also Check: How To Stop A Patio Umbrella From Spinning
Steel Pergola For Grapes And Kiwi
Size: 10 x 10Build Time: N/ASpecial Tools: Welding equipment
If you have some welding skills under your belt, check out this steel pergola that is ideal for growing grapes and kiwi.
Related Post:Metal Pergola Our 2018 Top Picks
The top of the pergola features a unique geometric design that lends itself to supporting the weight of heavy grapes and vines. The creator of these plans, Ken, was even kind enough to share with us the grapes hes grown:
About This Term: Primary Bedroom
Many real estate associations as well as the Real Estate Standards Organization have classified the term “Master Bedroom” as potentially discriminatory. “Primary Bedroom” is the name now widely used among the real estate community and better reflects the purpose of the room.
Read more about our Diversity and Inclusion Pledge to make The Spruce a site where all feel welcome.
Recommended Reading: Patio Paver Steps
How To Stain And Seal A Pergola
View in gallery
While this step might seem to be out of order, placed here before the actual installation of your pergola posts, it fits in perfectly here. And this is why: Staining a pergola isnt easy when the pergola is already built. Youre suspended on a ladder, up high, trying to reach all four sides of each board, jamming your arm or face into whatever fresh stain youve just done as you move onto the next board. Its possible, but its a pain. Much MUCH easier is this method: stain all lumber prior to building the pergola. Youll need to touch-up at the very end, of course, but not a ton.